How to reverse only the audio track in Premiere Pro
Premiere Pro can reverse a clip, but by default it reverses the picture and the sound together. If you only want the audio backwards while the video keeps playing forward, you unlink them first. Here is how.
Reverse only the audio
- 1. Unlink the clip. Right-click the clip in the timeline and choose Unlink, so the audio and video become separate.
- 2. Select the audio only. Click just the audio part of the clip.
- 3. Reverse it. Right-click and choose Speed/Duration, then tick Reverse Speed and click OK. Now the audio plays backwards while the video stays forward.
If you want both reversed, skip the unlink step and apply Reverse Speed to the whole clip instead.
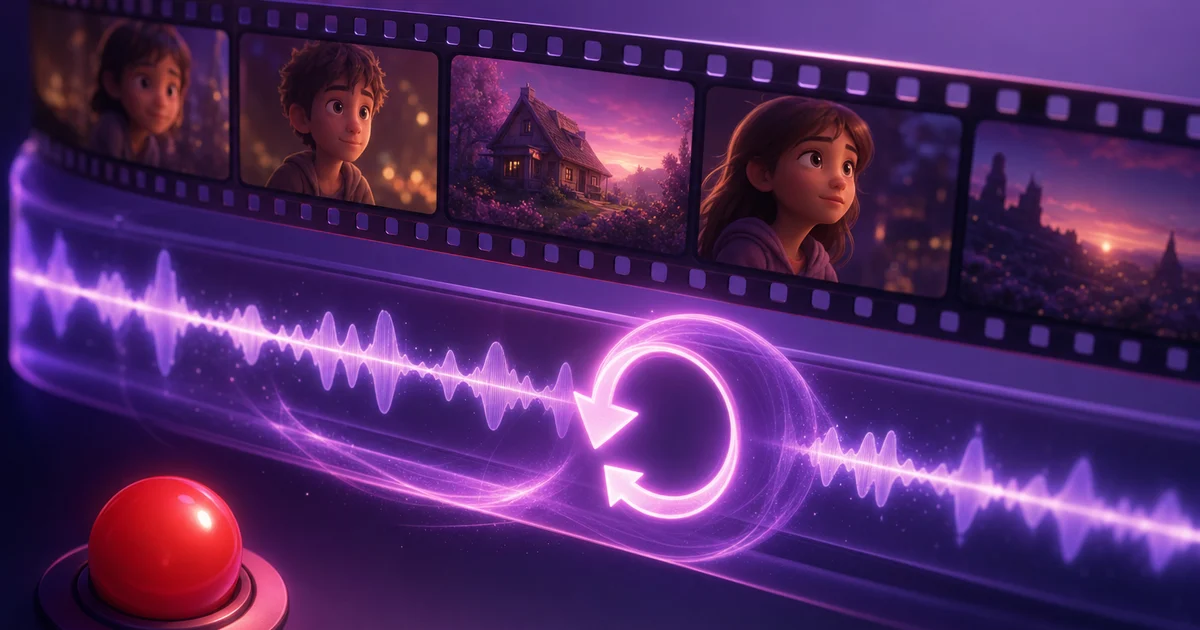
Just need a reversed audio file?
If your goal is simply a backwards audio clip to drop in, it is quicker to reverse it on your phone and import the file. Reverse Audio reverses a clip in one tap. Note that Reverse Audio works on audio, not video, so use it for the sound and keep your editing in Premiere.
Reverse an audio clip fast
Reverse a clip in one tap and import it into Premiere. On iOS and Android.
FAQ
How do I reverse only the audio in Premiere Pro?
Right-click the clip and choose Unlink, select just the audio, then use Speed/Duration and tick Reverse Speed. The audio plays backwards while the video stays forward.
Why does Premiere reverse the video too?
Reverse Speed applies to the whole clip by default. Unlinking the audio from the video first lets you reverse only the sound.
Can I prepare a reversed audio clip outside Premiere?
Yes. Reverse Audio reverses an audio clip in one tap on your phone, then you import the file into Premiere. It handles audio, not video.